


FermZilla GEN 3 Tri-Conical Easy-Grip Pressure Fermenter - 27L Uni Tank
On order - Contact us to pre-order - $259.00 NZD
The 27L Tri Clamp Conical Easy-Grip Pressure Fermenter - GEN 3 FERMZILLA - Unitank
*These are quite large, light but bulky to send on courier unfortunately. If you are in Auckland contact us for a cheaper shipping rate - or let us know where you are in NZ and we can let you know what rate we can do.
*Feel free to send us a message on our contact form if you want to discuss anything or organize a customized package.*
Our motto at iKegger has always been "forget bottling". We have made it our mission to take out the labour and headaches involved with that process and now we are taking it up a notch and simplifying the fermentation process too!
These fermenters are genuine UniTanks as they combine a lot of steps into one simple process and vessel.
This is a very good starting point for those who are just getting into pressurisable fermenters. Pressure fermentation opens up a world of possibilities for the homebrewer wanting to take their beers to the next level. If you are kegging then the ability to do a closed pressure transfer straight into a keg is worth it!
The new stock standard Gen 3 includes:
1 x FermZilla Easy-Grip Threaded Lid Ring
1 x Integrated Gauge BlowTie Kit (0-15psi) Spunding Valve
1 x 100cm Silicone Dip Tube Kit with Yellow Weighted Filter and SS Float
1 x Yellow Liquid Carbonation Caps
1 x Red Gas Carbonation Caps
1 x FermZilla Pressure Lid
1 x Red 35psi / 2.5BAR Pressure Relief Safety Valve
1 x FermZilla - Graduation Sticker 27L
1 x Strip Stick On Thermometer
1 x 27L FermZilla Tri-Conical Tank
1 x FermZilla - Conical Stainless Stand
1 x 3 Inch TC Beaded Seal - Silicone
1 x 3 Inch TC Clamp - 3 Segments
1 x 3 Inch TC x 3 Inch TC FermZilla Butterfly Valve Assembly
1 x FermZilla - 3 Inch Tri-Conical - 600ml Collection Container Kit
With a traditional fermenter you would rack (or siphon) the brew off the top of the trub (yeast and hop sediment) after primary fermentation has finished.
You would usually do this into a secondary vessel then wait for the remaining yeast to settle (possibly chilling to cold crash or using additives help clarify the beer.)
After the beer has clarified and settled you would then again rack off the beer into bottles or kegs.
Having all these steps, multiple vessels and racking equipment increases the chance of infection or contact with oxygen for your brew and, while not every home brewer takes these steps, the experiments and knowledge of professional brewers has proven that when done correctly they result in a better quality beer.
What if you could do all these steps quickly, easily and with no chance of infection using a single vessel and no transfers?
That is exactly what the fermzilla fermenter allows!
- Simply pour your cooled wort into the vessel and pitch your yeast.
- Wait for primary fermentation to finish and all the trub to settle in the collection jar at the base, close the butterfly valve and unscrew the vessel to dispose of it.
- Reattach the collection jar and reopen the valve to collect viable yeast for your next brew.
What if you could then attach our mini regulator straight onto the top of that vessel using a standard ball lock disconnect, pressurise the chamber and simply attach a tap to use it as a keg too? You can! The Fermzilla can be pressurized!
- Can be fully pressurised up to 35psi working pressure (tested to 70psi)
- It uses a floating dip tube attached to a liquid ball lock post on top of the fermenter instead of just using the bottom valve to drain with gravity
- It has a over pressure bleed valve (35psi)
This means that after primary fermentation you can either:
- Use a regulator and a daisy chain link to transfer the brew to a keg for ageing and carbonation while you put on your next brew.
- Add your sugar to the fermenter to secondary ferment / carbonate directly in the vessel and (after attaching a tap and regulator) pour beer straight from it.
- Put the whole fermenter into a fridge, attach a regulator and force carbonate your brew then attach a tap and serve straight from it. (you will always be drawing from the clearest part of your brew, the top!)
Download the instruction manual here >
QUESTIONS & ANSWERS
Ask a Question-
How much sugar would you need for secondary fermentation im use to carbonation drops in 750ml bottles
Hi Darrius -
Thanks for getting in contact. Effectively if you are using the pressure kit and fermenting under pressure the beer will be carbonated by the time ferment is complete, so no priming sugar will be needed at all. You would not need to wait the extra 2 weeks for carbonation and there will be less sediment if bottling. You could even drink right out the fermenter after cold crashing in a fridge if you like - just clip on a picnic thumb tap and you are away. That is the beauty with pressure fermenters (c:
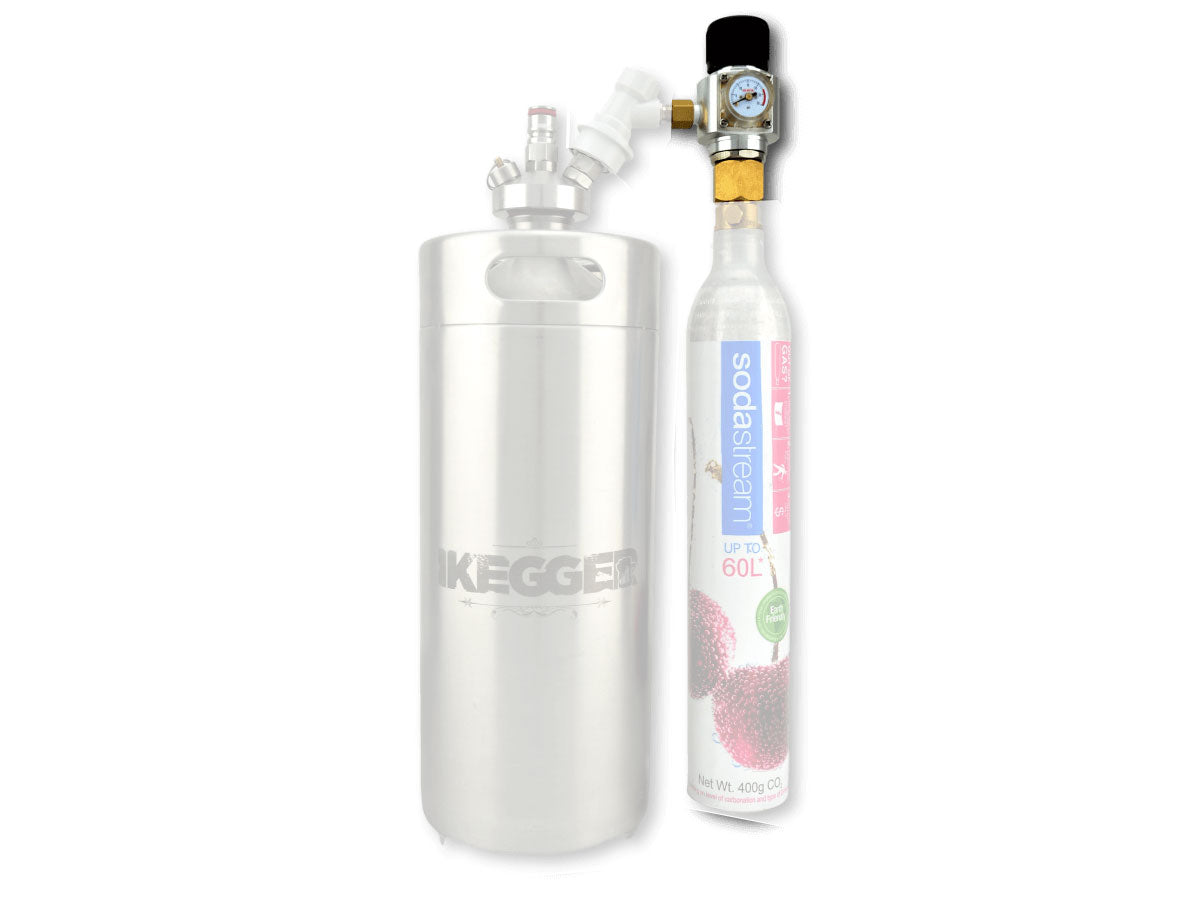
If you did want to add more carboantion the best way would be to hook up a sodastream bottle and force carb at 25psi over night or untill you get the carb level you want.Let us know if you have any other questions.
Cheers
Andrew. -
Hi, Just wanted to check, with the pressure kit on the fermentasaurus. Do you need to release the pressure at all through primary fermentation, or will it bleed itself when it builds up too much? Don't want it to explode, cheers. 🤯
With pressure fermentation you do want keep an eye on what pressure the system is sitting at. If it gets too high then yes you will want to bleed pressure off. The best way to do this is with a spunding valve - you can then set the pressure and it will automatically release pressure for you. we have them here: https://www.ikegger.co.nz/products/prv-vprv-spunding-valve If you had some other kind of guage on the fermenter to read the pressure then you could also release gas manually too with the pressure release valve. Let us know if you have any other questions. Cheers.
Customer Reviews
Related Items


16g Threaded CO2 Cartridge / Canisters - Box of 10 canisters
$33.00 NZD $49.00 NZD
Use in our Pro Mini or 2.0 RegulatorsHigh quality, recyclable steel, 16 gram threaded food grade CO2 canisters / soda chargers to keep your mini... View full product details


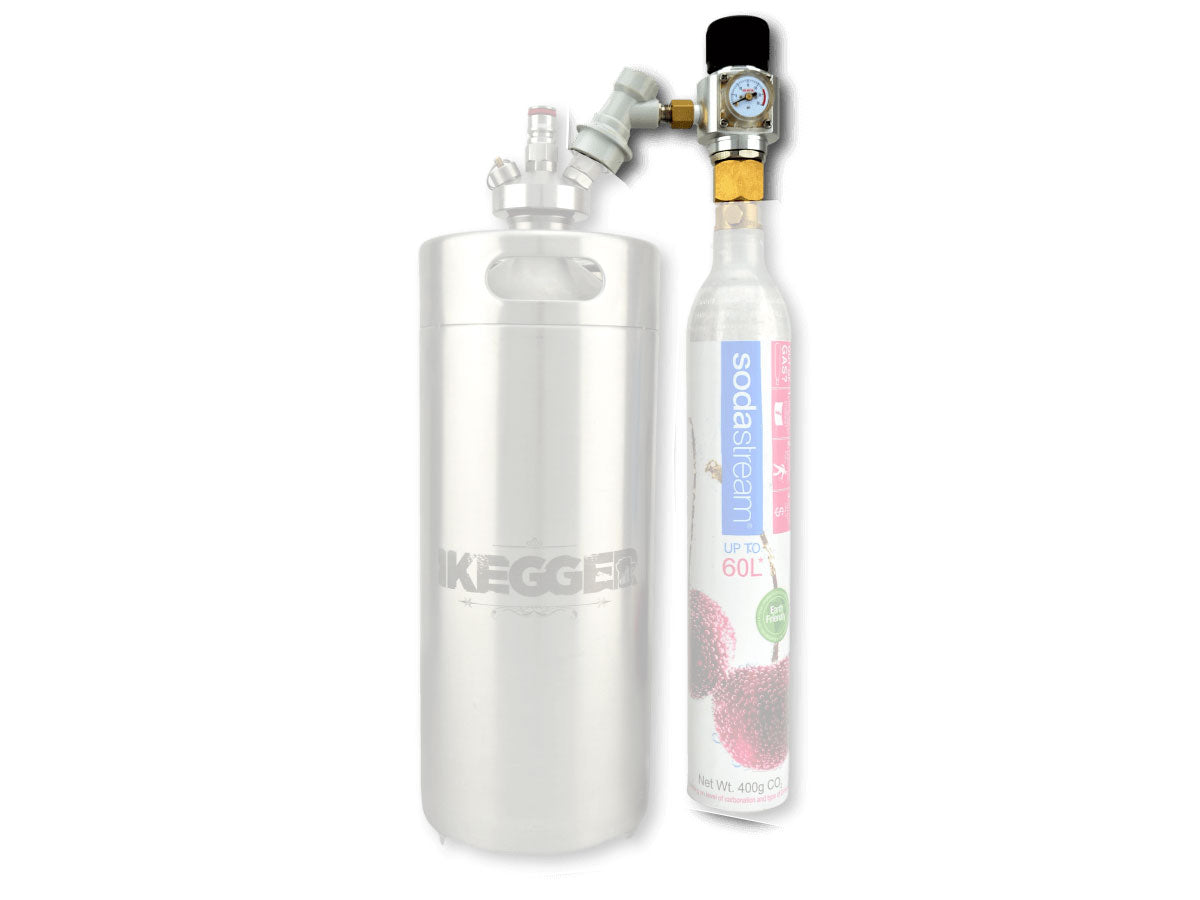
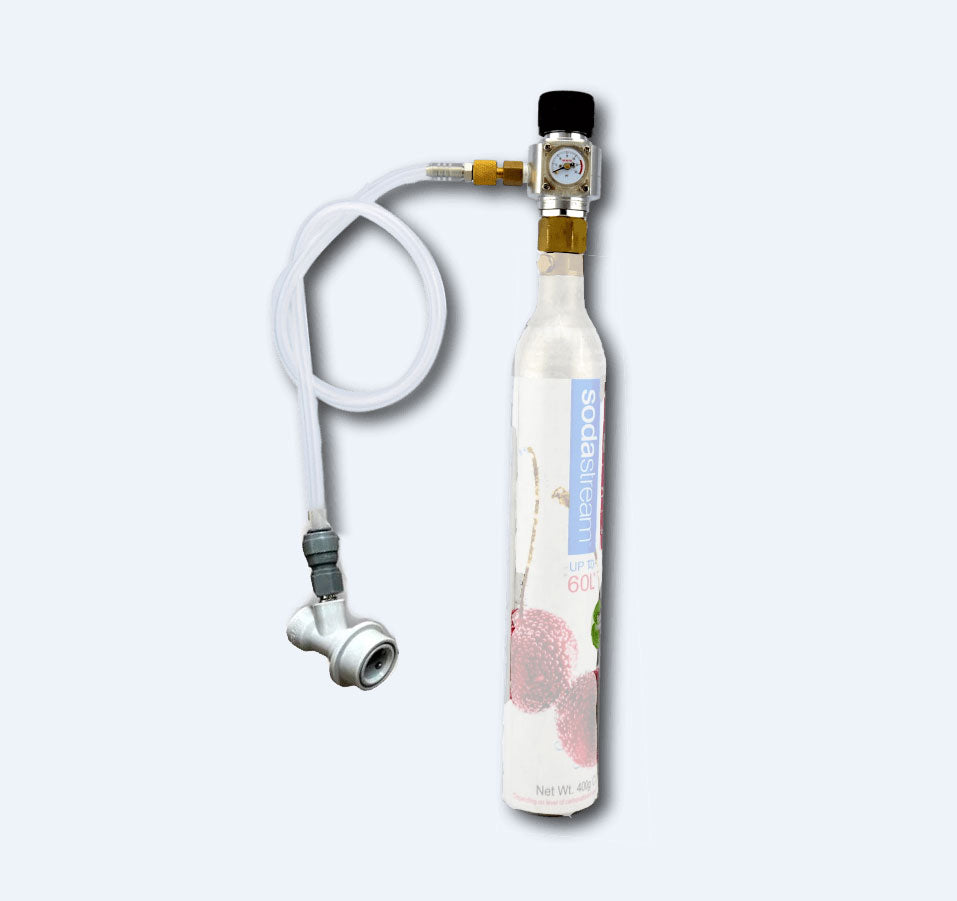
Sodastream Adapter for Pro Mini Regulator (Also Fits Paintball Cylinder)
$29.00 NZD $35.00 NZD
Select type from the drop down box to the side.Installation instructions & Usage at the bottom of this page here These custom made adapters allow... View full product details


Pure Nitrogen N2 chargers - for Nitro Coffee / Espresso Martini
$20.00 NZD $25.00 NZD
Box of 10 chargers - Use in our 2.0 Regulators or Nitro Kits onlyPure food grade nitrogen canisters. Pure N2 - 2g per bulbs (fits... View full product details




Pro Mini CO2 Regulator
$79.00 NZD $85.00 NZD
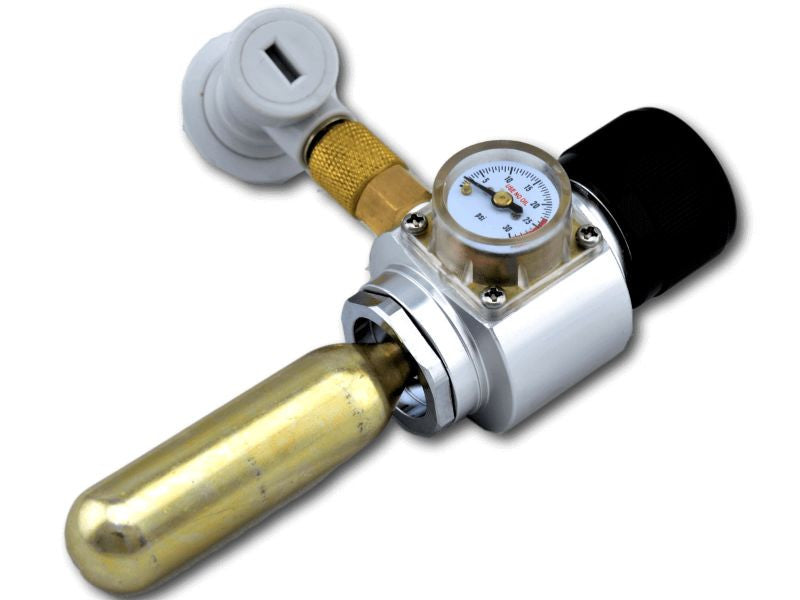
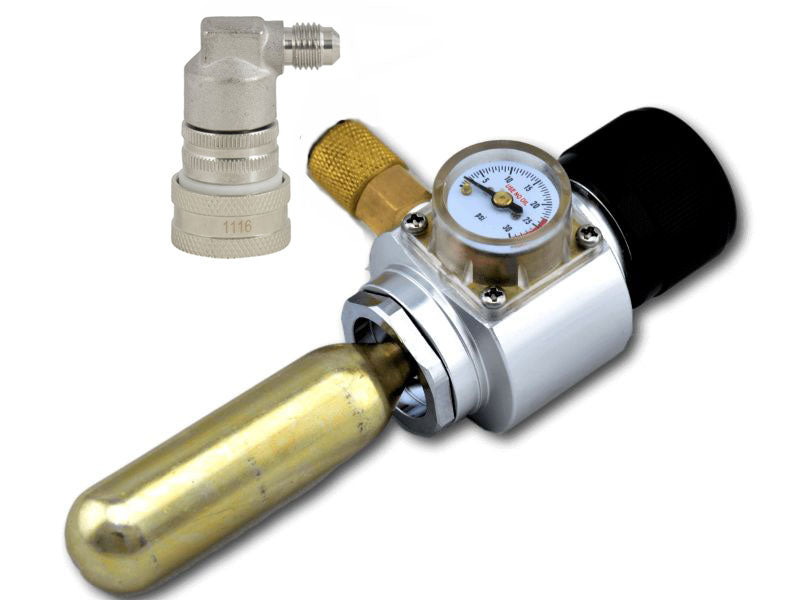
High Quality Mini CO2 Regulator These are very high quality mini CO2 regulators that take 16-24g threaded gas canisters. They will regulate the flow of CO2... View full product details


